How to Design a Shade Garden in Zone 6 That Looks Lush All Year
A zone 6 shade garden comes together in a single weekend of planning and a few weekends of planting, and the formula is simple: match your plants to the kind of shade you actually have, layer them from tall to low, and choose perennials that shrug off winter lows down to minus 10 degrees Fahrenheit. Do those three things and even the gloomiest corner under a maple can look lush by next summer.
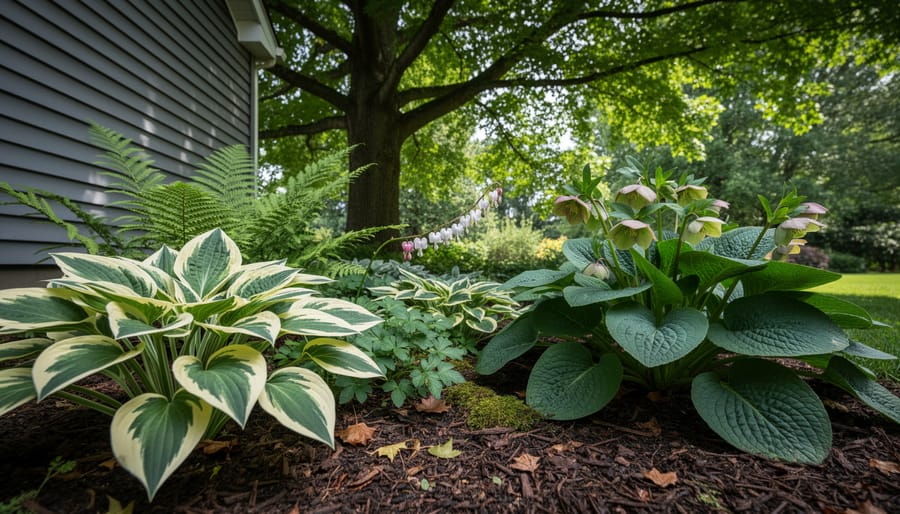
Here’s why it works. Shade isn’t one condition, it’s several. The dappled light under a tall oak, the deep shade on a north-facing wall, and the dry shade beneath evergreens each ask for different plants. Zone 6 adds its own twist, with cold snaps that heave shallow roots and spring thaws that can fool tender growth into waking early. Hostas, ferns, hellebores, and bleeding heart handle all of it beautifully, and they’re only the start.
I learned this the hard way in my own backyard, where a row of impulse-buy plants sulked in the north corner for two seasons before I finally mapped the light. The redo took one afternoon with a notepad and a cup of coffee. This guide walks you through that same process, from reading your shade to planting in fall, when zone 6 soil is at its most forgiving.
Start by Reading Your Shade: Light Types and Zone 6 Conditions
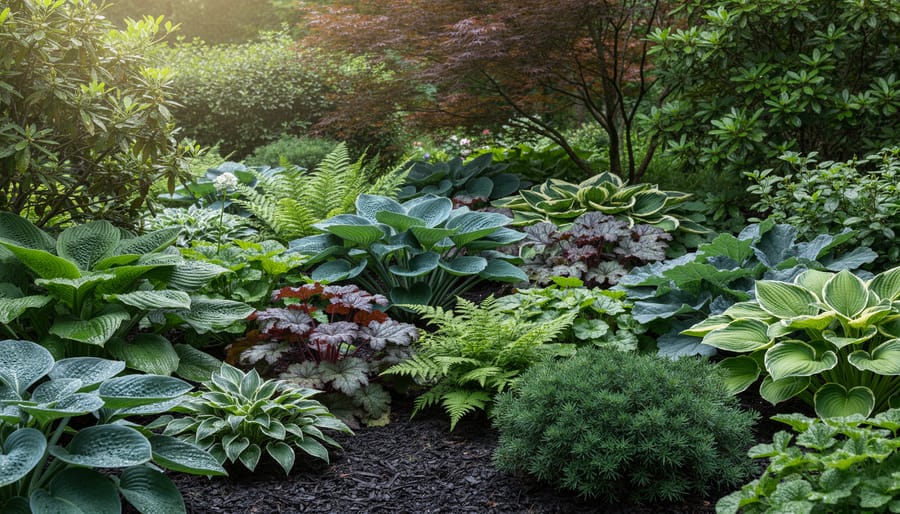
Before you buy a single plant, spend a few days simply watching your space. Light is the one thing you can’t amend, and reading it correctly is what makes any shade garden thrive.
Here’s how the main types break down in plain language:
– Full shade: fewer than three hours of direct sun, often none at all. Think the north side of a house or beneath dense evergreens.
– Part shade: about three to six hours of direct sun, usually gentle morning light.
– Dappled shade: sunlight filtering through high, open tree branches, moving and shifting all day. It’s a favorite for woodland plants.
– Morning sun, afternoon shade: the sweet spot for many perennials, since afternoon heat is the harshest.
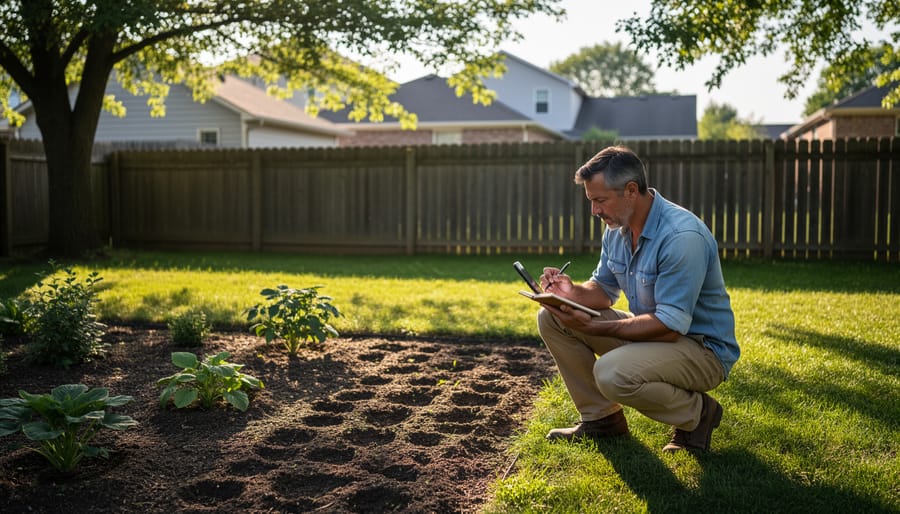
To map your light, check the spot at 9 a.m., noon, and 4 p.m., and snap a quick phone photo each time. Do it again in different seasons if you can, because a bed that’s shady in July may be bright in April before the trees leaf out.
Zone 6 adds its own wrinkles. Winter lows reach roughly -10 to 0°F, and the freeze-thaw cycles of late winter can heave shallow-rooted plants right out of the soil. Spring is famously moody here too, with warm spells followed by a surprise frost. Those early weeks of extra light under bare branches are actually a gift for spring bulbs and ephemerals.
Finally, notice moisture. Dry shade under mature trees, where roots hog the water, calls for tough plants like epimedium and certain ferns. Moist shade near buildings, where downspouts and north walls hold dampness, welcomes hostas, astilbe, and foamflower. Knowing which you have saves a lot of guesswork later.
Tools and Materials for Building a Shade Bed
Before you dig a single hole, get your kit together. Nothing stalls a planting day like realizing the hose is still in the garage or you’re one bag of compost short. Here’s what I keep on hand for building a shade bed:
- A sturdy spade for cutting edges and lifting sod (the right gardening spade makes root-filled shade soil far less of a fight)
- A garden fork to loosen compacted ground without slicing through tree roots
- A hand trowel for setting individual plants
- A leaf rake or bow rake for leveling and smoothing the bed
- A tape measure to space plants by their mature width
- A hose or marking paint to outline the bed’s curves before you commit
- Compost, plus leaf mold if you have it, to enrich the soil
- Shredded leaf mulch to hold moisture through summer and cushion freeze-thaw swings
- Edging to keep the bed’s shape crisp
- Plant labels so you remember what went where
If a new tool is on your wish list, our roundup of gardening tool gift ideas is a handy place to start, whether you’re treating yourself or dropping hints.
One last item costs nothing: a notebook or your phone’s camera. Snap a photo of the spot every couple of hours on a sunny day, and you’ll have a clear record of where the light falls. That little habit has saved me from more than one misplaced hosta.
As for timing, plan to gather plants and materials in early fall or spring. Both seasons suit zone 6 planting, and nurseries are well stocked then.
Safety First: Working Under Trees and in Cold-Climate Shade
A little caution goes a long way when you’re gardening in the shade, and most of it comes down to a few easy habits. Think of them as small ways of looking after both yourself and the garden you’re building.
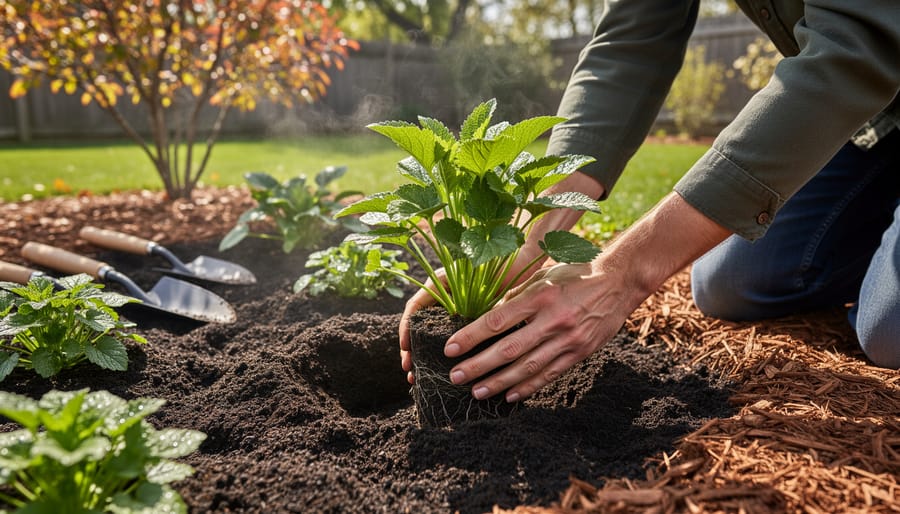
Start with the trees. Mature roots do more than anchor a tree; they feed it, and many of the important ones sit just beneath the surface. Dig gently with a hand trowel rather than a spade, and plant in small pockets between roots instead of cutting through them.
If a large limb looks cracked or hangs low, or a tree leans or has dropped branches without warning, skip the planting and call a certified arborist. The bed can wait a week, and your head will thank you.
Zone 6 shade also stays wet and cold longer than sunny spots do. Hold off on working soggy ground, which compacts easily, and steer clear of icy patches and slick leaves, especially in early spring and late fall. Wear sturdy boots with good tread.
Finally, know your plants. Hellebores, for instance, can irritate skin and are toxic to pets, so wear gloves when you handle them and keep curious dogs and cats away from anything you’re unsure about.
Step-by-Step: Planning and Planting Your Zone 6 Shade Garden
Choosing Zone 6 Plants That Thrive in Shade
When I plant a shady bed, I think in roles rather than individual plants, and zone 6 gives you plenty of tough, reliable options for each one.
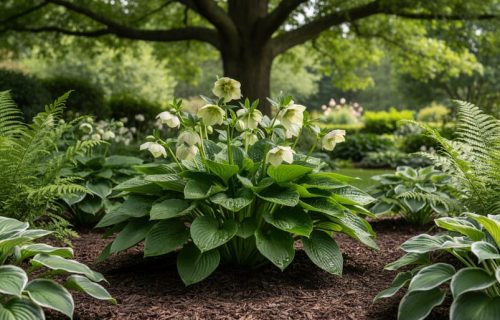
Structure gives the bed bones. Oakleaf and smooth hydrangeas hold their shape and flower in part shade, ferns like Christmas fern and autumn fern stay green deep into winter, and hellebores bloom while snow is still on the ground.
Foliage drama carries the garden once spring flowers fade. Hostas are the classic, but pair them with heuchera for color, brunnera for silver-splashed leaves, and Japanese forest grass for soft, arching movement. Variegated and chartreuse leaves light up dark corners better than most flowers can.
Spring bloom is where you get your early payoff. Bleeding heart, foamflower, and epimedium all flower happily under trees and tuck neatly beside bigger leaves. Foamflower and Virginia bluebells are native choices that support early pollinators, and mixing a few natives in keeps the planting feeling at home in your landscape.
Groundcovers knit everything together and cut down on weeding. Sweet woodruff is fragrant and low, and pachysandra alternatives like wild ginger or barren strawberry give you the same carpet effect with more personality.
Before you buy, check the tag for two things. First, look for a hardiness range that includes zone 6, meaning the lower number should be 6 or less. Second, match the light words, “part shade,” “full shade,” or “dappled,” to what you observed in your own beds. A plant labeled “sun to part shade” is rarely happy in deep shade, even though the tag sounds friendly.
If you’re also gardening in a slightly warmer microclimate, my zone 7 shade blueprint offers a helpful comparison. And once your hydrangeas and ferns fill in, they make lovely material for fall flower arrangements that bring the garden indoors.
Layering Texture, Color, and Seasonal Interest
When flowers are scarce in shade, foliage has to do the heavy lifting, and contrast is how you make it work. Pair bold, broad leaves like hostas with fine, feathery textures such as Japanese forest grass or ferns. That push and pull keeps your eye moving instead of settling on one green blur.
Color matters just as much. Variegated leaves and chartreuse foliage act like little lanterns in a dark corner. I tuck a gold-leaved hosta or a lime heuchera right where the light fades, and suddenly that spot glows even at dusk.
Then think in seasons, because a zone 6 bed has to earn its keep from March to February. Early spring belongs to bulbs like snowdrops and daffodils, which finish before tree canopies leaf out and steal the light. By summer, your layered foliage takes over and carries the show. Fall brings golden hosta leaves and the burnished tones of some ferns and hydrangea foliage.
Winter is where evergreen structure pays off. Hellebores keep their leathery leaves through the cold, and evergreen ferns hold their shape when everything else has melted back. Mark them on your sketch first, then build the rest of the bed around them.
Checking Your Results and What to Do Next, Season by Season
A shade garden tells you pretty quickly whether it’s happy. Healthy establishment looks like fresh new growth by the first spring, leaves with even color, and plants that stay compact instead of stretching. Scorched, crispy edges usually mean too much afternoon sun, while long, floppy stems reaching toward the light mean too little.
During the first year, check the soil with your finger every few days. Water when the top inch feels dry, and keep mulch about two to three inches deep, pulled back from stems so crowns don’t rot. If a plant sulks after a full season, don’t be shy about moving it. Shifting a hosta just a few feet can make all the difference.
Your zone 6 seasonal roadmap
– Fall: Clear spent debris, then mulch after the ground begins to cool but before a hard freeze.
– Winter: Add an extra layer of shredded leaves over newly planted perennials to cushion freeze-thaw swings.
– Spring: Divide crowded clumps as growth emerges, and start watching for slugs.
– Summer: Water deeply during dry spells, especially under trees where roots compete.
For troubleshooting, leggy growth often calls for a brighter spot or a light pinch. Slugs respond to evening hand-picking and keeping mulch from piling too thick. Dry shade improves with compost worked in at planting time and steady first-year watering.
Can grass grow in shade?
Most lawn grasses struggle in deep shade, though shade-tolerant fescue blends can manage in part shade. In dense shade, a groundcover or mulched bed usually does better.
How much sun counts as shade?
Part shade generally means about three to six hours of sun, while full shade is under about three hours. Dappled light filtering through leaves also counts.
When is the best time to plant in zone 6?
Early fall and spring are ideal, giving roots time to settle before extreme heat or hard freezes.
Why are my hostas getting holes?
Slugs and snails are the usual culprits, feeding at night. Look for slime trails and try evening hand-picking.
How often should I water new shade plantings?
Check every few days and water when the top inch of soil is dry. Once established, they need far less.
Keep a few photos from each season. They make it easy to see what’s thriving and what deserves a new spot next year.
Here’s the secret I wish someone had whispered to me years ago: you don’t need to transform your whole yard. Pick one small shady corner, the one you’ve been walking past for years, and start there this season.
Watch the light for a few days, then work with what you’ve got. A single hosta, a fern, and a hellebore can turn a forgotten patch into a place you actually want to linger. Add a layer of mulch before the first hard frost, and let zone 6’s winter do its resting while your roots settle in.
Designing a shaded garden isn’t about fighting the dim spots or wishing for more sun. It’s about letting the light you already have guide every choice, from the plants you pick to the textures you pair. Shade has its own quiet kind of beauty, and it rewards patience.
I’d love to see how your corner comes together. Share a photo of your progress, and sign up for our weekly newsletter for season-by-season tips delivered right to your inbox.